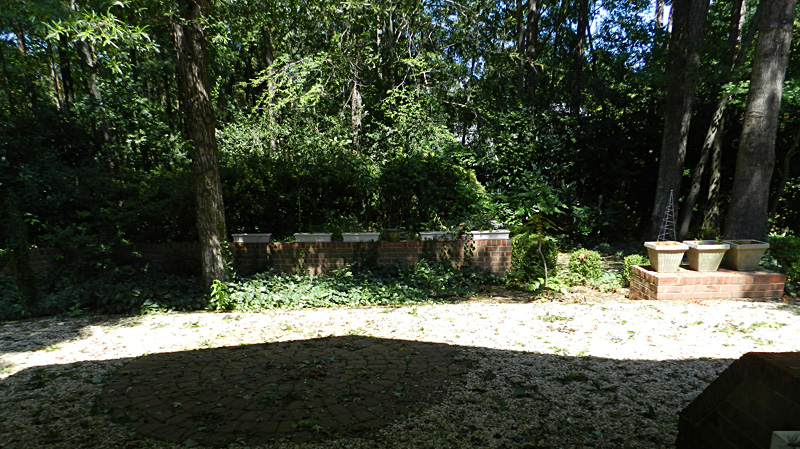
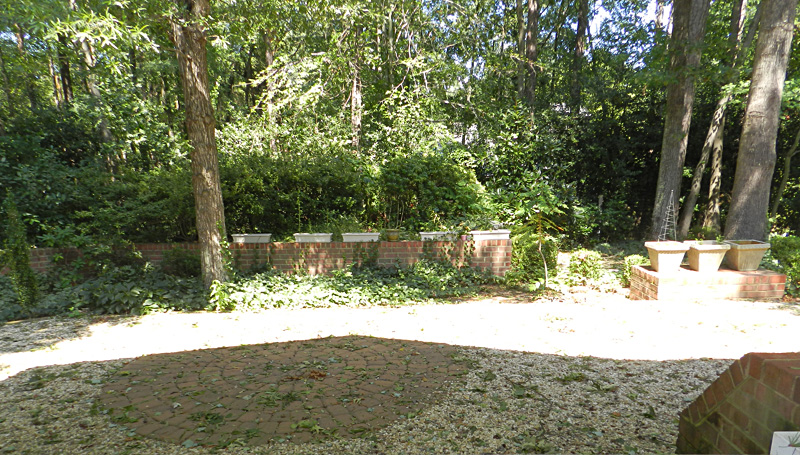
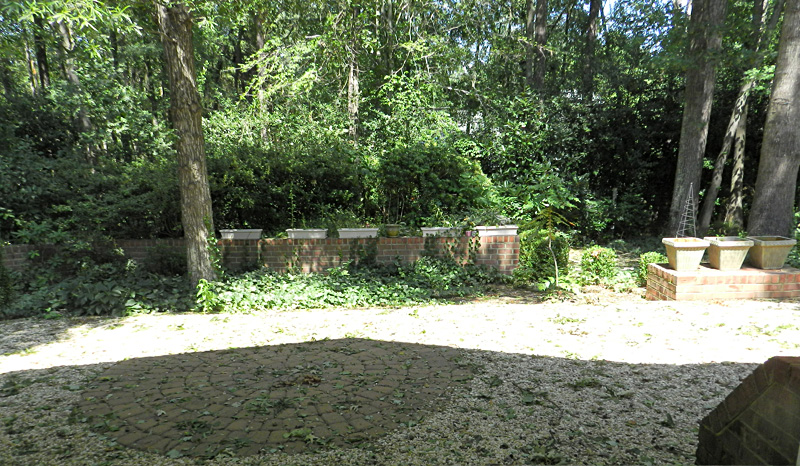
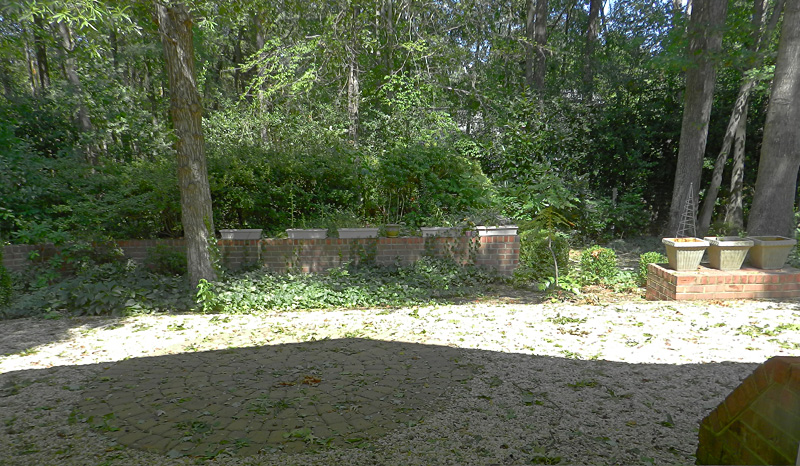
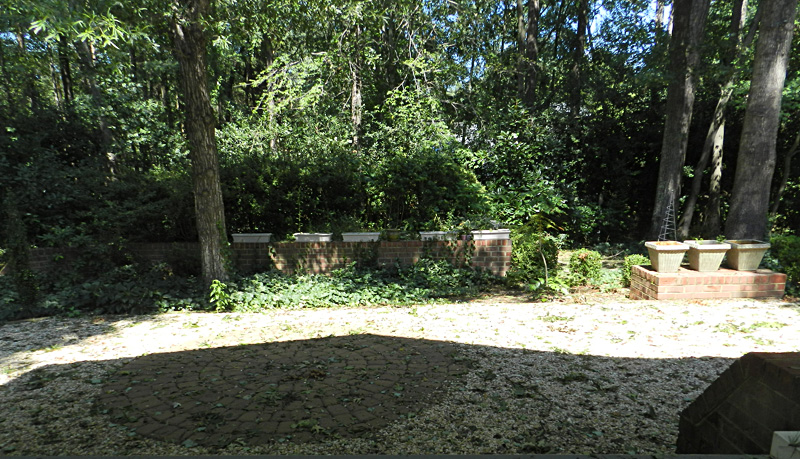
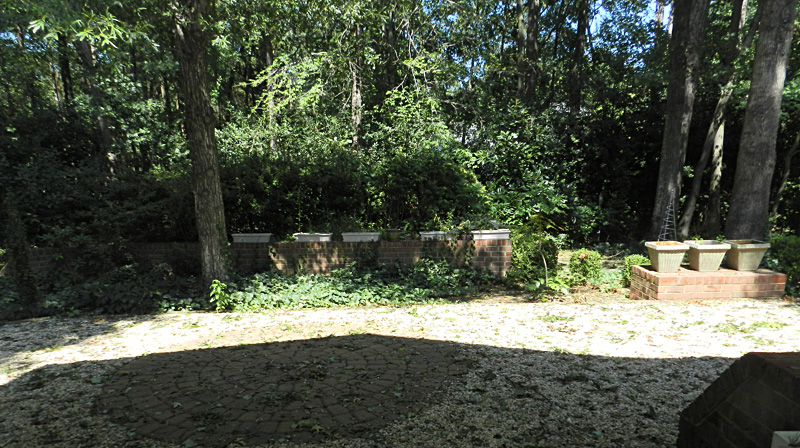
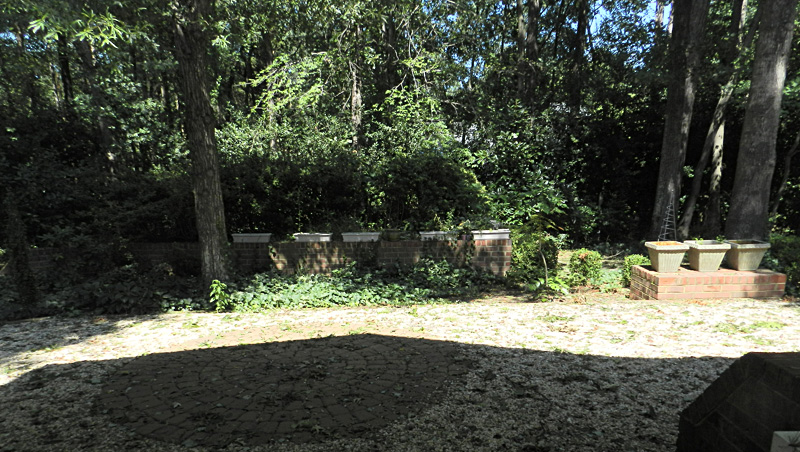
I included a series of HDR (High Dynamic Range) examples taken by the Coolpix P500 in Photographer’s Guide to the Nikon Coolpix P500. Today I had the opportunity to take a few new photos in a setting with very sharp contrast between sunny and shaded areas. I thought the results would be useful for illustrating HDR effects and similar shots. I’m posting these images here as a supplement to the book to give more illustrations of the capabilities of the P500 with HDR and related options for dealing with very contrasty scenes.
There is only one shot below that was taken using theP500’s in-camera HDR option; the others were taken using the Backlighting shooting mode, one with flash and one with D-Lighting; several others were taken in the Program shooting mode using the Active D-Lighting menu option. Finally, there is a composite shot that was created in Photoshop CS5 using the Merge to HDR Pro option, based on 5 or 6 shots taken with the Coolpix P500 in Manual exposure mode at a wide range of different exposure settings.
For all of these shots, I had the P500 attached to a very sturdy tripod so the images would all include the same scene.
First, here is the shot in Program mode with no special options used, to give you an idea of how difficult this lighting situation was:
The next shot, below, was taken in the P500’s Backlighting shooting mode with the HDR option turned off, in which case the camera fires the flash:
This next one was taken in Backlighting shooting mode with the HDR option turned on. As is standard in that situation, the first shot produced (below) was taken with no flash, but with D-Lighting processing, which attempts to even out the shadows and highlights with in-camera processing:
The image below, the second result of the shots taken with the HDR setting turned on, is the only one of this series that represents the P500’s attempt to do an in-camera version of HDR. The camera took several images and combined them together in the camera to produce this HDR result:
The next three images were taken in Program shooting mode, using the menu option for Active D-Lighting. First, with Active D-Lighting set to Low:
For this next one, below, Active D-Lighting was set to Normal:
And the image below was taken with Active D-Lighting set to High:
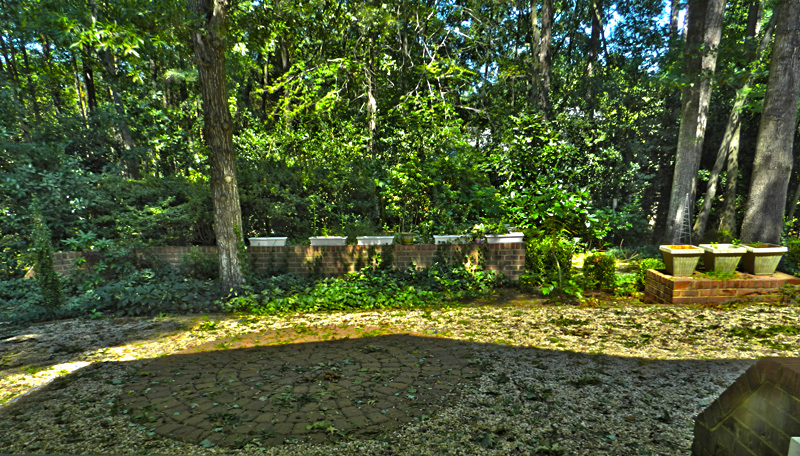
Finally, the image below is a composite that I put together in Photoshop CS5 using the Merge to HDR Pro feature, starting with several photos of the same scene taken with the Coolpix P500 in Manual exposure mode at f/8.0, varying the exposure from overly dark to overly bright by changing the shutter speeds. I then tweaked the result in Photoshop until I found a look I thought was appealing.
You may not be able to appreciate the full effects of this experiment through these images on the web, but I think you can get a general idea of how the Coolpix P500 handles this type of scene, where one area is in dark shadow and another is in bright sunlight. In my opinion, the camera does a pretty good job of dealing with this very difficult lighting situation with its in-camera HDR processing. The Active D-Lighting setting does a decent job also. And, because Active D-Lighting is available in Program mode, you can choose more of the camera’s individual settings when you use that option as opposed to the HDR option, which requires the use of the Backlighting shooting mode with its limited options for other settings.
Certainly, in my opinion, your best bet for dealing with a lighting challenge of this sort is to take multiple shots with different exposures, possibly using exposure bracketing, and then merging those shots in Photoshop or some other program that can produce composite HDR images. But the Coolpix P500’s built-in HDR feature is a very nice one to have available.


