I recently started working on my next camera guide book, Photographer’s Guide to the Fujifilm X10. It’s a terrific camera, and I’m enjoying the process of exploring its features. In the book, which I hope will be ready by early April, I’ll be including sample images taken with various settings. Some of these examples show up in print better than others. My books are trade-sized paperbacks, and they are printed in full color with good quality, but some of the more subtle differences between images can be a bit hard to see on the printed page. So, I’m going to start experimenting with putting some of the sample images here on the web site, with the idea that the differences between photos taken at various different settings may be easier to see here, where they can be larger than on the printed page.
This time, I’m going to post images taken at the different settings for the Color item on the Shooting menu. The X10 has lots of settings, and there are several of them on this menu that let you tweak the appearance of your images: Color, Sharpness, Highlight Tone, Shadow Tone, and Noise Reduction. For now, I’m going to choose just one of these — Color.
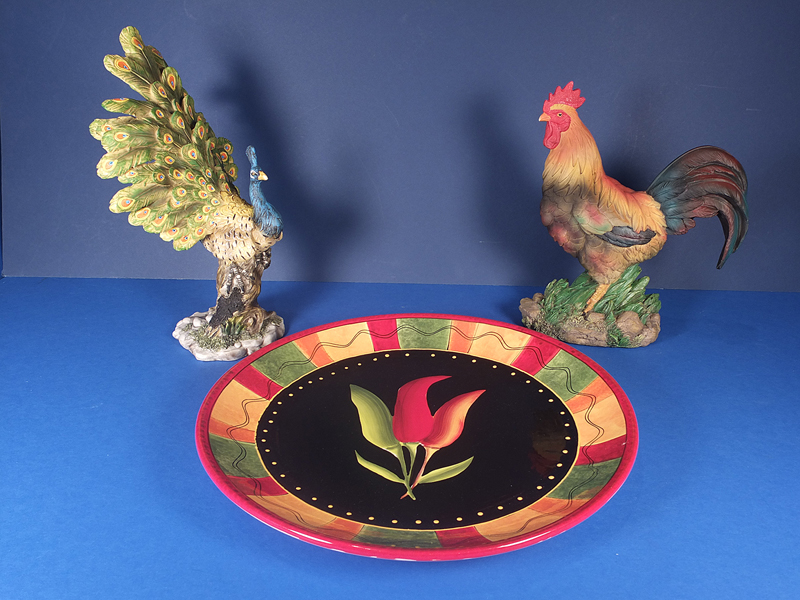
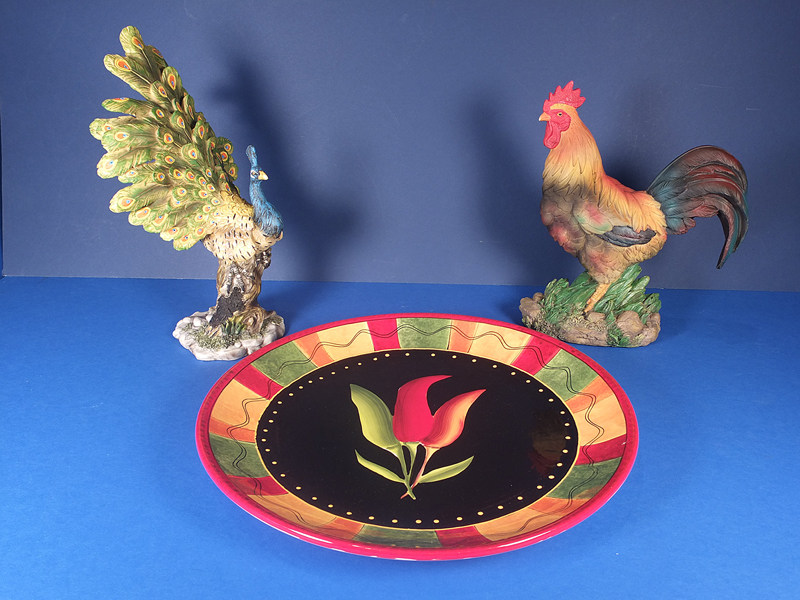
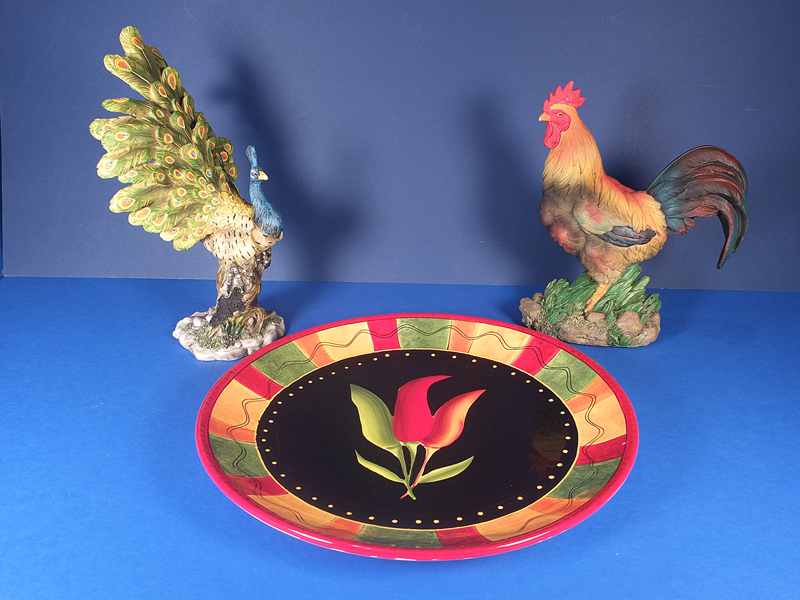
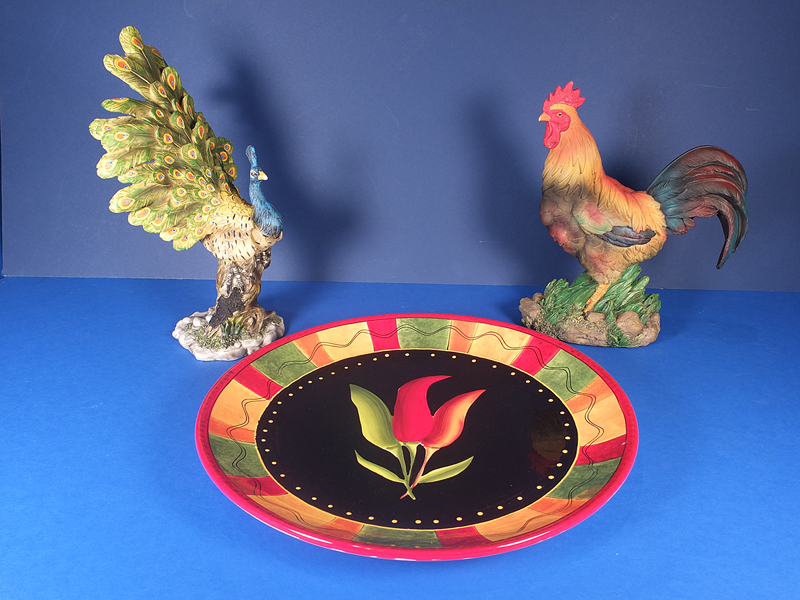
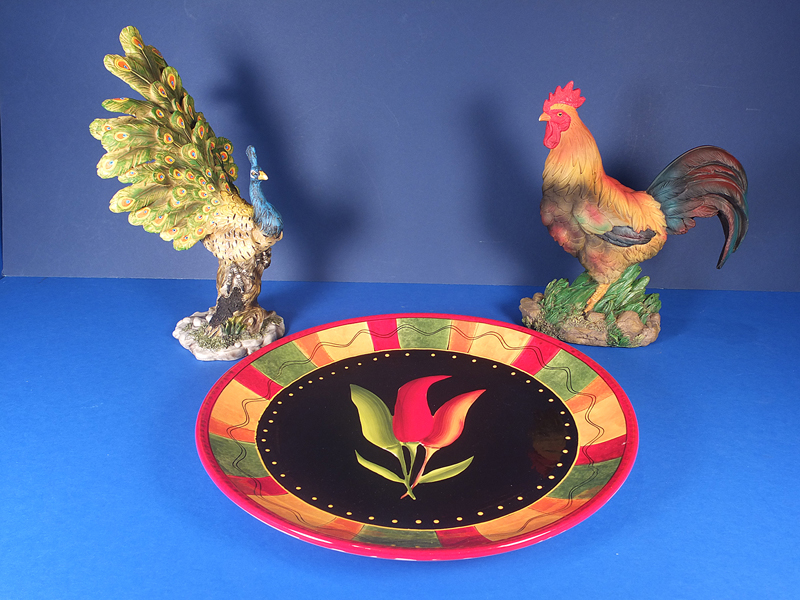
The images below were all taken with the X10 at f/6.4 and 1/20 second, with the ISO set to 200. The only variation among the shots was the Color setting. The first shot at the top of the series was shot with Color set to Low; the next was Medium Low, and so on, through Mid, Medium High, and, finally, High.
To my eye, the effects of this setting are not all that dramatic, though I can see some progression of intensity of the colors from the top image to the bottom one.
If I find time, I may go ahead with similar series of images for Sharpening and at least some of the other settings.
Of course, if you combine these settings in various ways, you can achieve a wide range of different effects or looks for your images.


