I am finishing up work on Photographer’s Guide to the Nikon Coolpix P510, which should be available by mid-July, and now I have time to post some additional shots and information. Today I’m going to talk about the Selective Color setting on the P510, which is a setting I really enjoy playing around with.
This setting is one of several options for the Special Effects mode, which provides an excellent collection of creative ways to alter your images. To use this mode, you turn the camera’s mode dial to the EFFECTS slot. Then, on pressing the Menu button and choosing the Special Effects menu item, you will see a listing of the various settings available: Soft, Nostalgic Sepia, High-contrast Monochrome, High Key, Low Key, Selective Color, Painting, High ISO Monochrome, and Silhouette.
With all of these choices, you do not have many options for making other settings; the camera will set the exposure, contrast, color enhancements, etc. You can still use flash, exposure compensation, and different focus modes (manual, auto, infinity, or macro), but you can’t get access to most of the options on the Shooting menu that you can in the more advanced modes, such as Program, Shutter Priority, and Aperture Priority.
When you choose the Selective Color setting, the camera prompts you to press the OK button to select a color. When you press that button, the camera displays a scale of colors on the left of the screen, with a yellow marker to the right. You can use the up and down direction buttons or the multi selector dial to move that marker up and down to select one of the colors. You then press the OK button again to save that color selection.
Now, you can take a picture and the camera will record the scene in black and white, except for that color. Any part of the scene in that color will appear in color. This special setting can be used for dramatic effect to isolate and highlight one particular item of a selected color.
There is also a selection at the top of the scale with a negative symbol (circle with line through it). If you select that symbol, then the camera records the scene in full color, with no change from a normal scene.
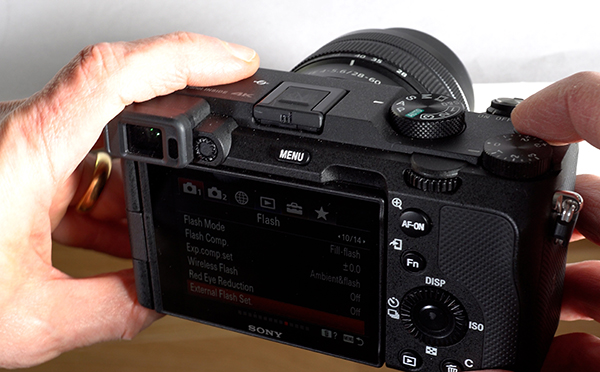
Take a look at the images in the gallery below, which includes several sample photos taken with the Selective Color setting. There also is a shot of the Coolpix P510’s mode dial, showing it set to the Special Effects setting, and screen shots showing the Special Effects menu and the Selective Color screen for selecting a color.


How you notify everyone that the book for the Nikon Coolpix p510 will be completed and available for purchase?
Thanks
Josh
Hi, Josh — I will be posting information about the release here at whiteknightpress.com. Also, I will make a note to send you a message when the book is available. Anyone else who wants to be notified can leave a message through the Contact form here, and I will send them a message when the book is released. Thanks.
–Alex White
I love this camera (just bought it not long ago) and thanks to your user friendly tips, I should be able to use it for more than just a standard picture soon. Very informative and much appreciated!
Hi, Frank — Thanks for your positive comments! The Coolpix P510 is a great camera — very versatile and excellent for many types of photography. I’m glad you’re enjoying it!
Great camera,love your books!
Thanks very much! I agree that it’s a great camera.
Just full love this camera , love back and white and like wild life with it, how get more photos wild quicker